Hands Only CPR vs Traditional CPR

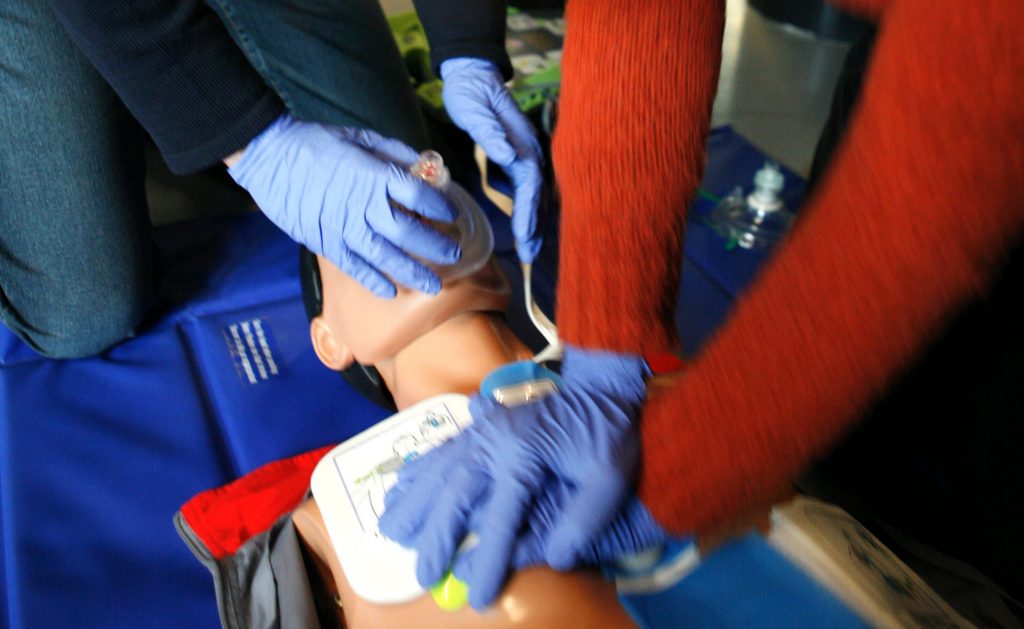
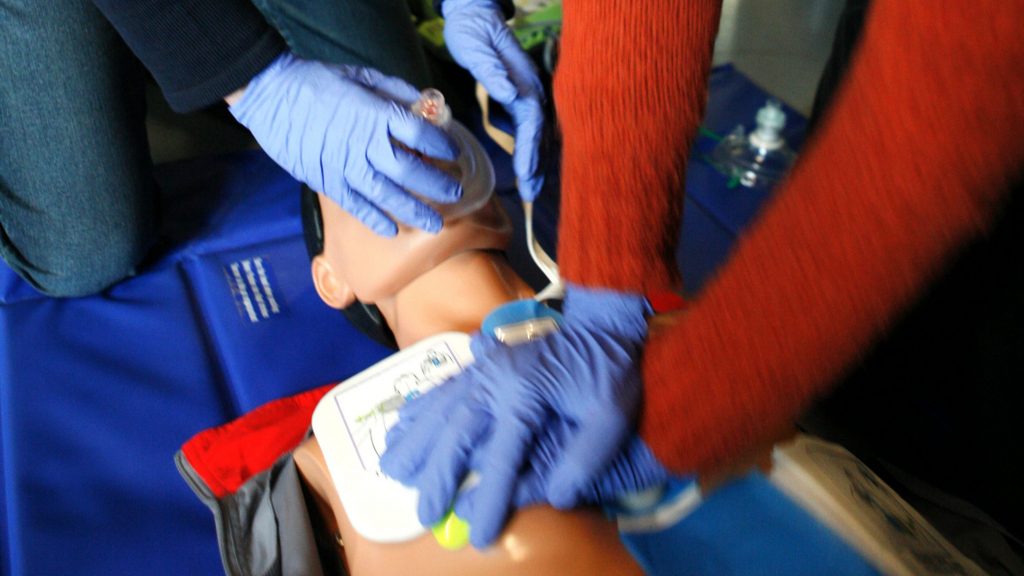
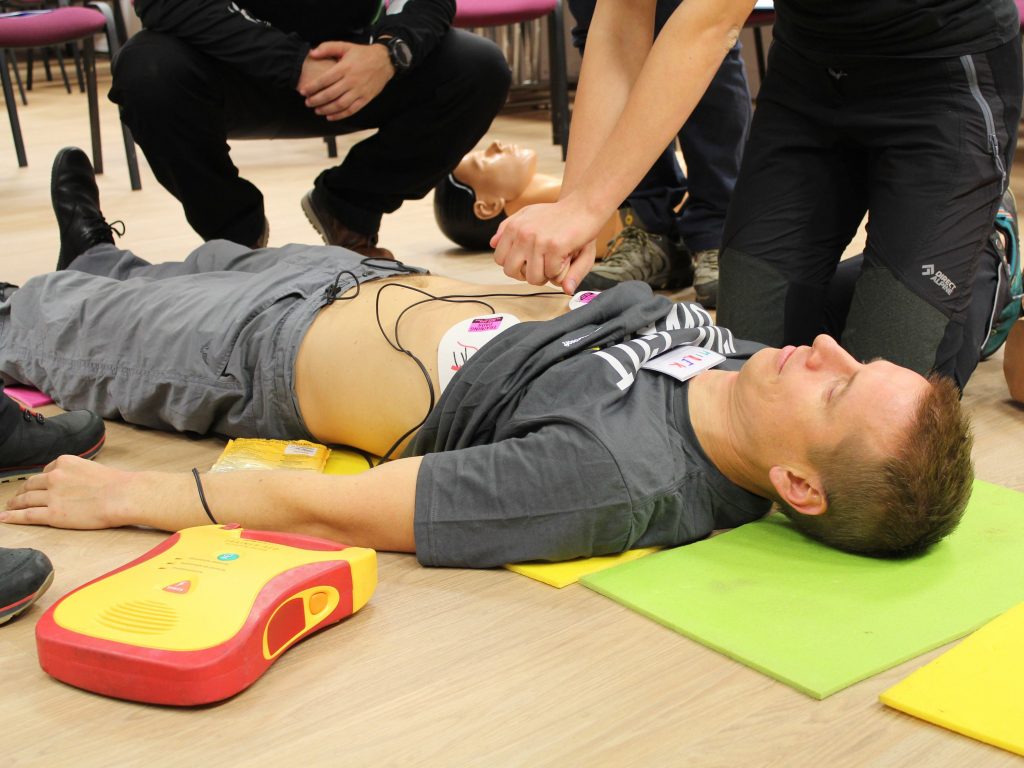
Hands-only CPR, also known as compression-only CPR, is a simplified form of cardiopulmonary resuscitation (CPR) that focuses solely on chest compressions without mouth-to-mouth breathing. Traditional CPR involves a combination of chest compressions and rescue breaths. Here’s a comparison between the two:

  1. Technique:
    • Hands-only CPR: Only chest compressions are performed. Rescuers push down on the chest at a rate of about 100 to 120 compressions per minute, aiming for a depth of at least 2 inches for adults and 1/3 of the chest depth for infants.
    • Traditional CPR: It involves both chest compressions and rescue breaths. After a set of compressions, the rescuer delivers two rescue breaths into the victim’s mouth while keeping the airway open.
  2. Effectiveness:
    • Hands-only CPR: It is found to be as effective as traditional CPR for adults who collapse from cardiac arrest in a non-hospital setting.
    • Traditional CPR: This method is effective for various causes of cardiac arrest and may be particularly important in situations where the victim has suffered from respiratory arrest (e.g., drowning).
  3. Simplicity and Ease of Training:
    • Hands-only CPR: It is simpler and easier to learn, remember, and perform compared to traditional CPR. This makes it more accessible to the general public and increases the likelihood of bystander intervention in emergencies.
    • Traditional CPR: It requires training not only in chest compressions but also in delivering rescue breaths and maintaining proper airway management.
  4. Applicability:
    • Hands-only CPR: It is recommended for use by bystanders who witness an adult suddenly collapse in a non-hospital setting, particularly if they are untrained or uncomfortable with performing mouth-to-mouth breathing.
    • Traditional CPR: It is recommended in situations involving infants, children, or victims of drowning or drug overdose, where respiratory issues are prominent, and immediate rescue breaths are crucial.
  5. Public Awareness and Acceptance:
    • Hands-only CPR: It has gained widespread acceptance due to its simplicity and effectiveness. Public health campaigns often promote this method to encourage bystander intervention.
    • Traditional CPR: While still an essential skill taught in CPR training programs, traditional CPR may be perceived as more intimidating or complex for some individuals, leading to hesitation in performing CPR in emergency situations.

In summary, hands-only CPR offers a simplified and effective approach to CPR, particularly for adult victims of sudden cardiac arrest. However, traditional CPR remains vital in situations involving specific populations or causes of cardiac arrest where rescue breaths are crucial. Both techniques are important skills to learn and can significantly increase the chances of survival in cardiac emergencies.

Be sure to take a CPR class today!

CPR for Drowning Victims

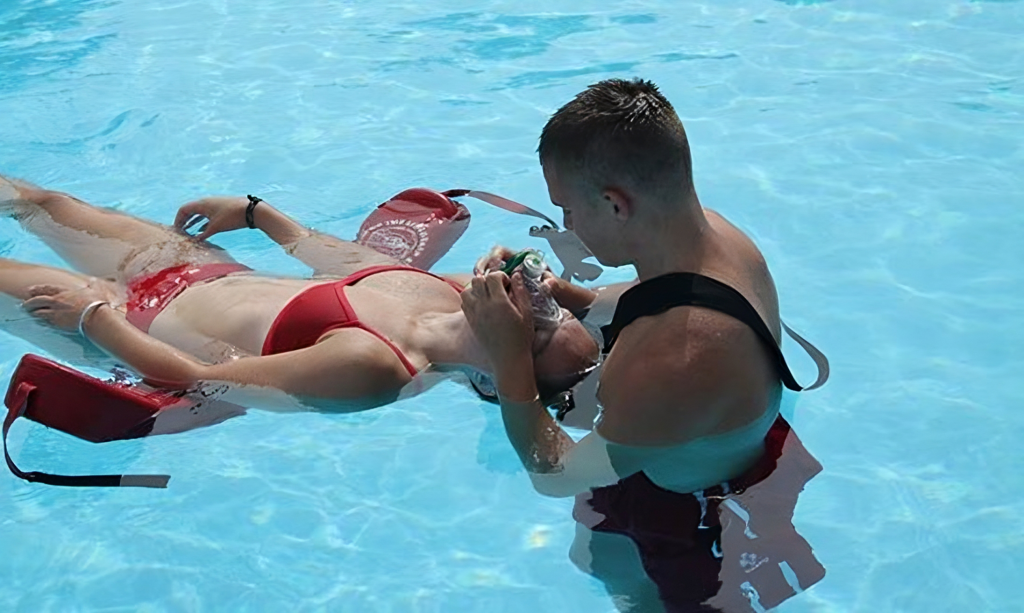
Quickly providing care to a victim who is in respiratory or cardiac arrest is very important. Allowing too much time to pass before care is provided can make the difference if a victim survives respiratory and cardiac arrest.  Some lifeguard programs advocate providing ventilations in the water before the victim is removed. This is based on guidelines from the 2011 United States Lifeguard Standards Coalition.

With that stated, the 2011 USLSC clearly states the survival rate is increased in open water settings.  The studies cited advocating in-water ventilations were conducted in open-water settings where victims were minutes away from shore.  No research has been shown (or done that we can find) to show in-water ventilations improves outcomes for drowning victims in swimming pools.  Unless you are a lifeguard with specific training in this skill, responders should remove the victim from the water and provide care.

If you employed by a facility and are operating within the standard of care that has sufficient staff trained to properly remove a victim from the water, we cannot see the time spent providing in-water ventilations vs removing a victim and providing care to have a meaningful improved outcome.  This makes the skill unnecessary in a pool setting.  Care can certainly be provided more effectively on land-especially for CPR and airway management. 

A more updated review of in-water ventilations, as well as, other resuscitation interventions for drownings, have found the efficacy of in-water ventilations to be inconclusive.  In fact, the study most cited by advocates of the skill from Brazil “was assessed as providing very low certainty evidence.”

For more information, be sure to take a CPR class today!

When Should Rescuers Switch Positions During CPR?

During CPR (Cardiopulmonary Resuscitation), it’s essential for rescuers to switch positions if they are performing the procedure for an extended period to ensure the effectiveness of the compressions and to prevent rescuer fatigue. Here are general guidelines for when and how often rescuers should switch positions:

  1. Time Interval for Switching: Rescuers should aim to switch positions every 2 minutes or after about 5 cycles of 30 compressions and 2 breaths, whichever comes first. This timing aligns with the recommended rate of compressions and allows for minimal interruption in chest compressions.
  2. Monitoring Rescuer Fatigue: It’s crucial to switch positions before the rescuer performing compressions becomes too fatigued to maintain effective compression depth and rate. Signs of fatigue can include slowing of compressions, decreased depth, or visible signs of physical strain.
  3. Quick Switch to Minimize Interruption: The switch between rescuers should be as quick and smooth as possible to minimize interruptions in chest compressions. Ideally, the switch should take less than 5 seconds to ensure continuous blood flow to the brain and other vital organs.
  4. Communication is Key: Before starting CPR, rescuers should agree on the signal or command for switching. Clear communication during the resuscitation effort is crucial to coordinate the switch and other aspects of care efficiently.
  5. Training and Practice: Regular CPR training and practice, including the switch maneuver, can help rescuers become more efficient and comfortable with the process, reducing the time needed to switch and ensuring the high quality of compressions throughout the resuscitation effort.

These guidelines are based on recommendations from organizations such as the American Heart Association (AHA) and are designed to maximize the effectiveness of CPR while ensuring the safety and endurance of the rescuers. It’s always important to stay updated with the latest CPR guidelines as they can evolve based on new research and consensus in the medical community.

Be sure to take a CPR class today!

The Cardiac Chain of Survival

The Cardiac Chain of Survival is a series of critical actions that, when performed in sequence, significantly increase the likelihood of survival following a cardiac arrest. This concept is widely promoted by various health organizations, including the American Heart Association (AHA), as a guideline for both laypeople and medical professionals to follow during a cardiac emergency. The chain consists of the following links:

  1. Immediate Recognition and Activation of the Emergency Response System: This step involves recognizing the signs of a cardiac arrest, such as sudden collapse or unresponsiveness, and immediately calling emergency services (like 911 in the United States). Early recognition and calling for help are crucial to start the survival chain.
  2. Early Cardiopulmonary Resuscitation (CPR): Performing CPR promptly is critical because it helps maintain vital blood flow to the heart and brain until professional help arrives. Bystander CPR, especially if performed immediately, can double or triple a victim’s chance of survival.
  3. Rapid Defibrillation: This involves the use of an Automated External Defibrillator (AED) to deliver an electric shock to the heart. Defibrillation can restore a regular cardiac rhythm in a person who has suffered a cardiac arrest due to ventricular fibrillation or pulseless ventricular tachycardia.
  4. Effective Advanced Life Support: This step is provided by healthcare professionals and includes the advanced airway management, intravenous medications, and other interventions needed to support life and promote the restoration of a normal heart rhythm.
  5. Integrated Post-Cardiac Arrest Care: After the immediate emergency is over, the patient needs specialized care aimed at preserving brain function, managing other critical aspects of the patient’s health, and facilitating rehabilitation. This includes therapeutic hypothermia (cooling the body), controlled reoxygenation, and other measures to improve the patient’s recovery.

Understanding and implementing the Cardiac Chain of Survival can significantly impact survival

Be sure to take a CPR class to learn how to save a life! 

What is Hands Only CPR?

Hands-only CPR, also known as compression-only CPR, is a method of cardiopulmonary resuscitation (CPR) that focuses solely on chest compressions without the incorporation of rescue breaths. It’s designed to simplify the process of CPR for untrained bystanders in case of an emergency. The American Heart Association (AHA) recommends hands-only CPR in certain situations, particularly for adults who suddenly collapse in an “out-of-hospital” setting. Here’s a brief guide on how to perform it:

  1. Check the Scene and the Person: Ensure the scene is safe before approaching the person. Check if the person is responsive by shouting at them and shaking their shoulder gently. If there is no response and the person is not breathing or only gasping, call for emergency medical services (if you’re alone, use a mobile phone on speaker mode so you can continue to assist the person).
  2. Position Your Hands: Place the heel of one hand on the center of the person’s chest (on the lower half of the breastbone). Place your other hand on top of the first hand, interlocking your fingers.
  3. Start Chest Compressions: Keep your elbows straight and position your shoulders directly above your hands. Use your body weight to help you administer compressions that are at least 2 inches (5 cm) deep, but not more than 2.4 inches (6 cm), at a rate of 100 to 120 compressions per minute. The AHA suggests compressing to the beat of a familiar song that matches this tempo, like “Stayin’ Alive” by the Bee Gees.
  4. Continue Compressions: Keep performing chest compressions until professional help arrives or an automated external defibrillator (AED) is available and ready to use. If you become exhausted, try to find someone else to take over compressions.

Hands-only CPR has been shown to be as effective as conventional CPR (which includes breaths) in the first few minutes after a sudden cardiac arrest in adults. This method is not recommended for infants or children, victims of drowning, drug overdose, or people whose cardiac arrest is due to respiratory problems. In those cases, conventional CPR with breaths is more appropriate.

The simplicity of hands-only CPR increases the likelihood that bystanders will take action in an emergency, which can significantly improve the survival rates of individuals experiencing cardiac arrest outside of a hospital setting.

What to Do in a Heart Attack Emergency

If you believe you are experiencing a medical emergency, please call your emergency number immediately (such as 911) and seek immediate medical attention.

However, the Centers for Disease Control and Prevention (CDC) provides general guidance on recognizing the signs of a heart attack and what to do:

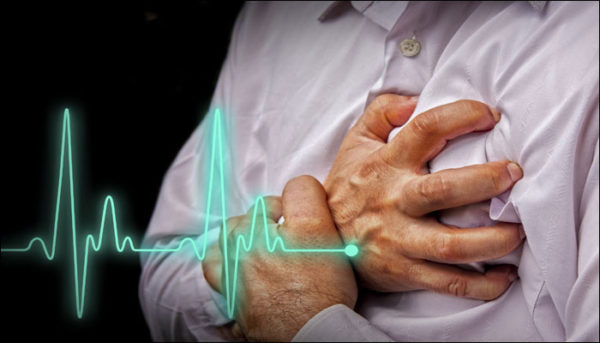
  1. Call for Emergency Help: If you suspect you or someone else is having a heart attack, call your local emergency number immediately. In the United States, it’s 911.
  2. Chew Aspirin, if Recommended: If you have been prescribed aspirin by a healthcare provider, and you’re not allergic to it, chew it while waiting for emergency medical services. Aspirin can help thin the blood and improve blood flow to the heart.
  3. Stay Calm and Rest: Try to stay as calm as possible. Rest in a comfortable position while waiting for emergency personnel.
  4. Do Not Drive Yourself: It’s generally not advisable to drive yourself to the hospital during a heart attack. Emergency medical services can provide faster and more appropriate care.

Remember that early intervention is crucial during a heart attack. The above steps are general guidelines, and individual cases may vary. Always follow the advice of healthcare professionals and seek immediate medical attention if you suspect a heart attack.

What is the demographic of someone who goes into cardiac arrest?

What are Safety Data Sheets (SDS)?

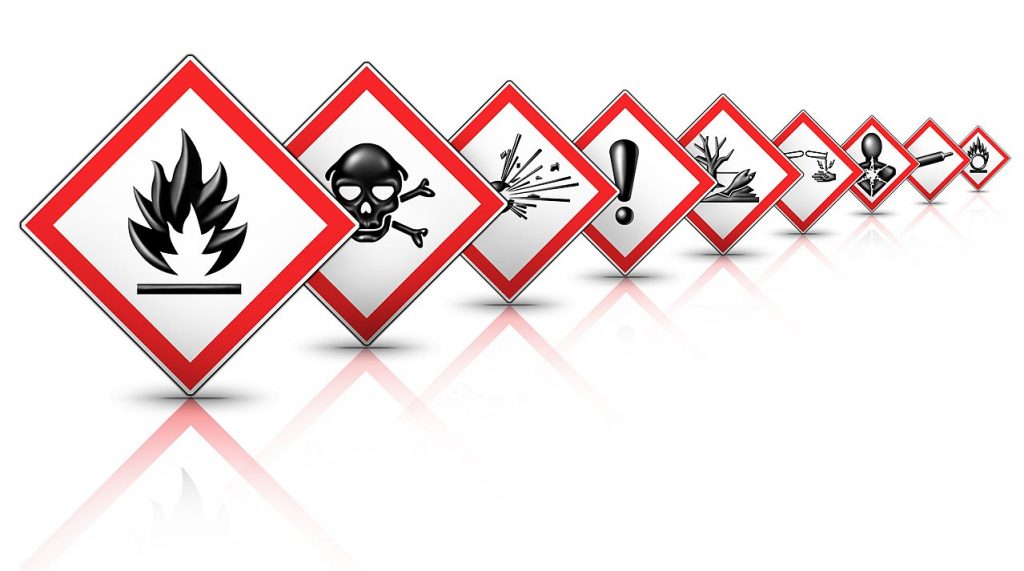
A Safety Data Sheet (SDS) is a document that provides detailed information about the hazards, handling, storage, and emergency measures for a specific substance or mixture. It is primarily used in workplace settings to ensure the safe use and handling of hazardous chemicals.

An SDS typically contains the following sections:

  1. Identification: This section includes the product name, manufacturer’s information, emergency contact details, and any relevant identification codes.
  2. Hazard(s) identification: Here, the SDS describes the potential hazards associated with the substance or mixture, including information on physical, health, and environmental hazards. It may also include information on precautionary measures and classification of the substance according to relevant regulations.
  3. Composition/information on ingredients: This section provides details about the ingredients of the substance or mixture, including their chemical names, concentration ranges, and any impurities or additives.
  4. First-aid measures: It outlines recommended first-aid procedures in case of exposure, such as inhalation, ingestion, or skin contact, including symptoms and necessary treatments.
  5. Fire-fighting measures: This section describes appropriate fire-fighting methods and equipment to be used if the substance catches fire, including any specific hazards related to the substance.
  6. Accidental release measures: It provides guidance on how to respond to spills, leaks, or releases of the substance, including containment, clean-up procedures, and protective equipment recommendations.
  7. Handling and storage: This section provides instructions on how to safely handle, store, and transport the substance, including recommendations for ventilation, protective equipment, and compatibility with other substances.
  8. Exposure controls/personal protection: It includes information on exposure limits, engineering controls, personal protective equipment (PPE), and other measures to minimize the risks associated with the substance.
  9. Physical and chemical properties: This section details the physical and chemical properties of the substance, such as appearance, odor, boiling point, melting point, solubility, and stability.
  10. Stability and reactivity: It provides information about the substance’s stability, potential reactions, and conditions to avoid (e.g., temperature, light, or incompatible materials).
  11. Toxicological information: This section describes the potential health effects of the substance, including acute and chronic toxicity, routes of exposure, and symptoms of exposure.
  12. Ecological information: It outlines the potential environmental impacts of the substance, including its persistence, bio-accumulation potential, and toxicity to aquatic or terrestrial organisms.
  13. Disposal considerations: This section provides guidance on proper disposal methods for the substance, considering local regulations and environmental considerations.
  14. Transport information: It includes information on the safe transport of the substance, including any regulatory requirements, packing groups, and proper labeling.
  15. Regulatory information: This section summarizes the relevant regulatory information and any specific regulations or restrictions related to the substance.
  16. Other information: Any additional information that may be relevant, such as date of preparation or revision of the SDS.

Safety Data Sheets are important tools for promoting workplace safety and ensuring the appropriate handling and use of hazardous substances.

Be sure to contact us for first aid and CPR training needs!