Business interruptions can come from many directions — tornadoes, flash floods, severe thunderstorms, blizzards, fire, and even pandemics. These events can cause injury, property damage, and prolonged closures.
- Businesses that are prepared for disasters recover faster and are far more likely to stay open after a major event. Without planning, many companies struggle to reopen or remain viable.
- Local Nebraska resources emphasize that emergency planning helps businesses protect people and minimize downtime, no matter the hazard.
Step 1: Start with a Risk Assessment
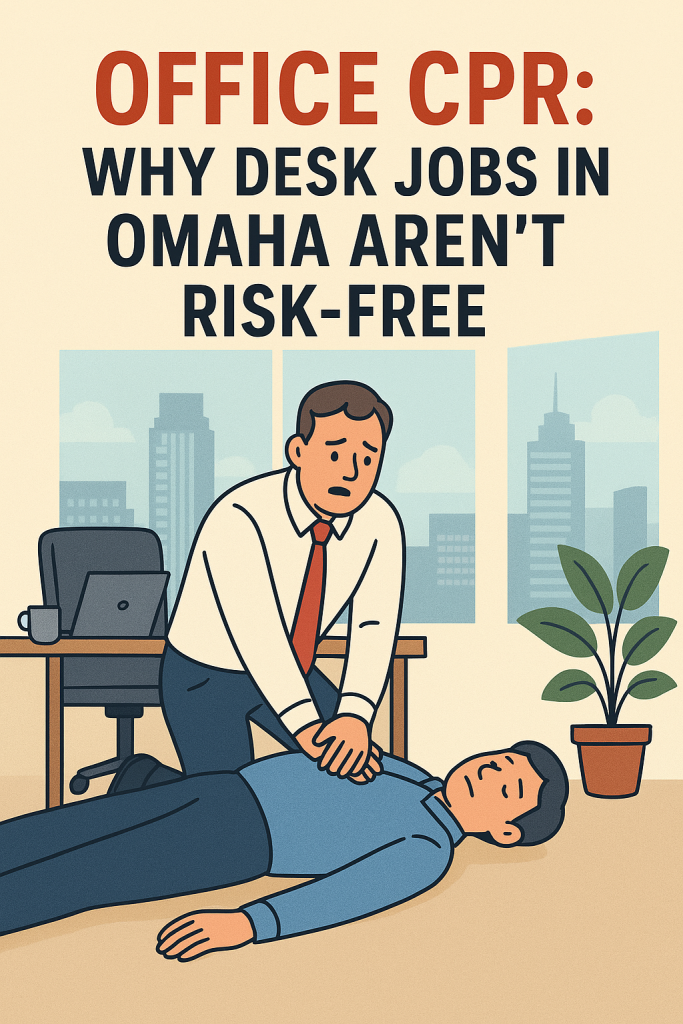
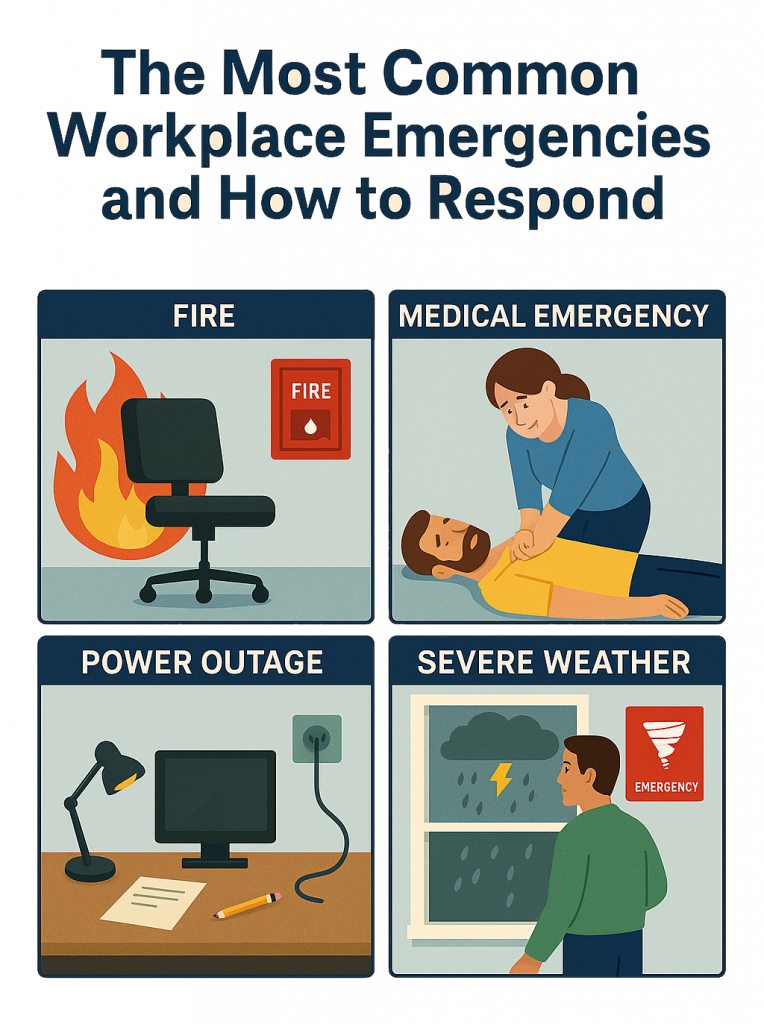
Begin by identifying what types of emergencies your business in Omaha is most likely to face. Consider:
- Severe weather risks like tornadoes or thunderstorms — Nebraska is in a region prone to such events.
- Flooding from heavy rain or snow melt.
- Power outages affecting operations and safety systems.
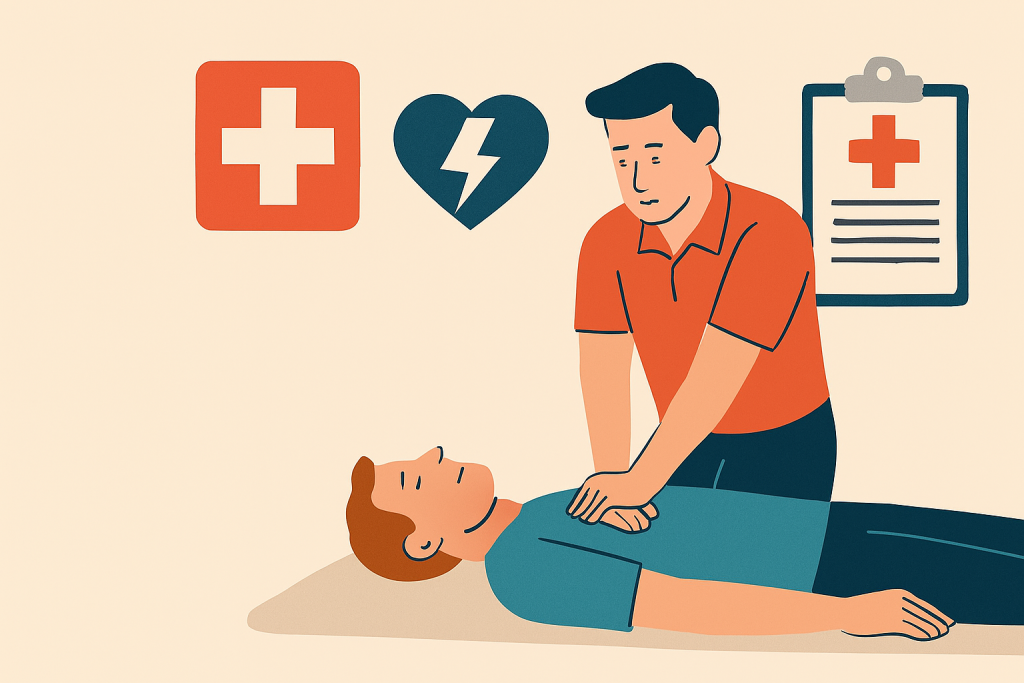
- Medical emergencies or large-scale illness.
- Fire or hazardous spills depending on your industry.
Document the hazards and how likely they are to impact your business operations. This step helps you determine where to focus your preparedness efforts.
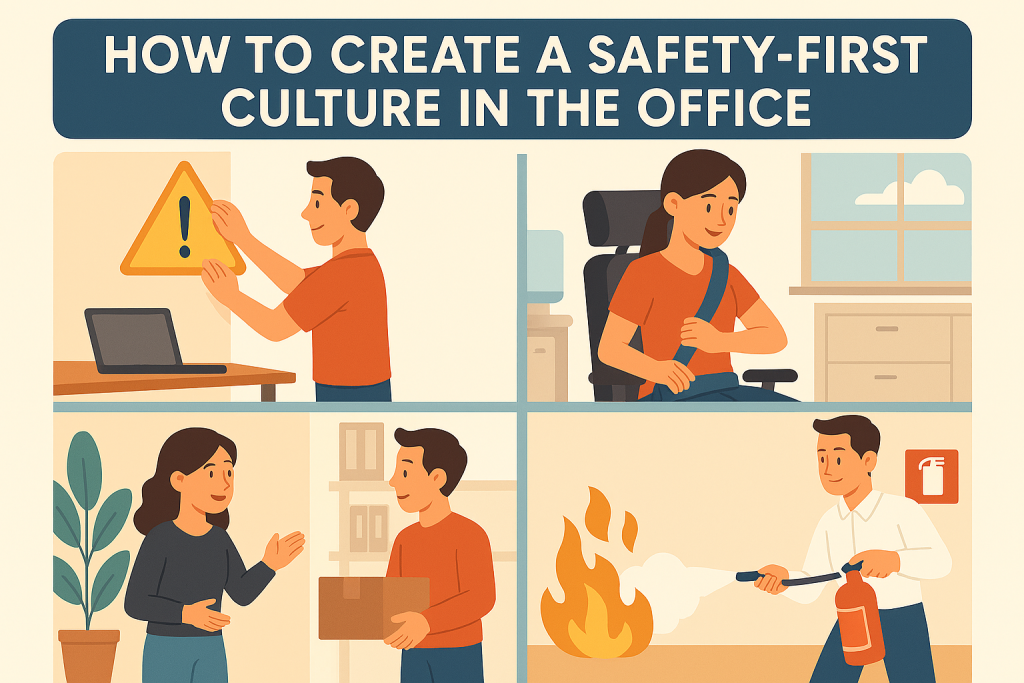
Step 2: Define Clear Emergency Roles and Responsibilities
Your ERP should formally assign roles and responsibilities so everyone knows what to do when seconds count.
- Designate response leaders for different scenarios (e.g., fire response, medical incident, severe weather).
- Assign someone to be the primary contact with emergency services (police, fire, medical).
- Ensure backups are identified in case the primary person is unavailable.
Include contact lists — internal staff and local emergency responders — with up-to-date information.
Step 3: Develop Emergency Procedures
Your ERP should include procedures for how your business will respond during specific emergencies:
Evacuation
- Establish evacuation routes and safe assembly points.
- Train staff on when and how to evacuate.
Shelter-in-Place
- Identify interior rooms or safe zones where staff can shelter during severe weather.
Communication
- Decide how you will notify employees and customers in an emergency (phone trees, alerts, PA systems).
- Make sure communication methods cover employees with disabilities or language differences.
According to federal guidance and workplace safety best practices, a written emergency action plan should include clear steps for reporting incidents, evacuation procedures, and personnel accountability.
Step 4: Prepare Emergency Resources
Your plan should detail what tools and supplies you’ll need:
- First-aid kits and PPE (masks, gloves, goggles)
- Fire extinguishers and training on how to use them
- Flashlights and battery backups
- Emergency contact lists and printed copies
- Backup power or data systems, if possible
Consider partnering with local suppliers and services to source these items in advance.
Step 5: Train Your Team
Having a plan on paper is only half the job — everyone must understand it.
- Conduct regular training sessions with employees
- Practice evacuation drills at least annually
- Review procedures after any significant change in your business operations
Training helps reduce panic and ensures a more coordinated response when an emergency happens.
Step 6: Test and Update Your Plan
Make your ERP a living document.
- Conduct tabletop exercises or drills with staff.
- After an event or drill, review what worked and what didn’t.
- Update your plan annually — or whenever your business changes locations, adds new employees, or modifies operations.
Local partners such as the Nebraska Preparedness Partnership provide templates and webinars to help businesses build and refine their plans, piece by piece.
Step 7: Partner with Local Omaha and Nebraska Resources
You don’t have to do this alone. In Omaha and across Nebraska, several organizations offer guidance and support for emergency planning:
- Nebraska Preparedness Partnership: Offers business planning resources, continuity templates, and webinars.
- Nebraska Department of Economic Development: Provides risk assessment and continuity guidance for businesses.
- Nebraska Emergency Management Agency (NEMA): Offers overall disaster planning context and links to federal tools.
These partnerships help connect private industry with public sector emergency managers, improving coordination and resilience.
Final Thoughts: Prepared Today, Stronger Tomorrow
An emergency response plan is more than paperwork — it’s your business’s playbook for protecting people, assets, and continuity in the face of uncertainty.
By assessing your risks, defining procedures, training your workforce, and partnering with local Nebraska resources, you’re not just complying with best practices — you’re safeguarding your business’s future in Omaha.